


In 2008, we were in Paris, France attending Blizzard Entertainment’s World Wide Invitational. After the event, we rented a car to tour southern Spain. A few days before we left for Spain, we were in a giant electronics store, where we saw several Garmin GPS units. They were expensive, but we eventually decided to take the plunge and buy one.
After driving for a few minutes through roundabouts with five or more exits, we were immediately grateful for the directions the GPS unit gave us. Looking back, we were very pleased with our purchase.
That GPS unit has been collecting dust since that trip because it’s only loaded with maps of Europe. However, we’ve pulled it out of retirement because there is a great way to load maps of central and south america onto it — and it’s free!
I first discovered this after reading a guide by PanAm Notes. As I went through the process, it was slightly different for me because a couple things have changed, and in addition I’m using an Apple laptop.
Loading Maps Onto A Garmin Nuvi GPS Device
First, head over to OpenStreetMaps. On this site, you can select a country, or even manually select tiles. Once you are satisfied with the selection, enter your e-mail address and click “Build my map”. A couple things to keep in mind. First, OpenStreetMap is a crowd-sourced map service, so in theory, the maps will always be getting better. Second, there is a handy calculator that shows how large the map file will be — make sure your map will fit in the memory of your device.
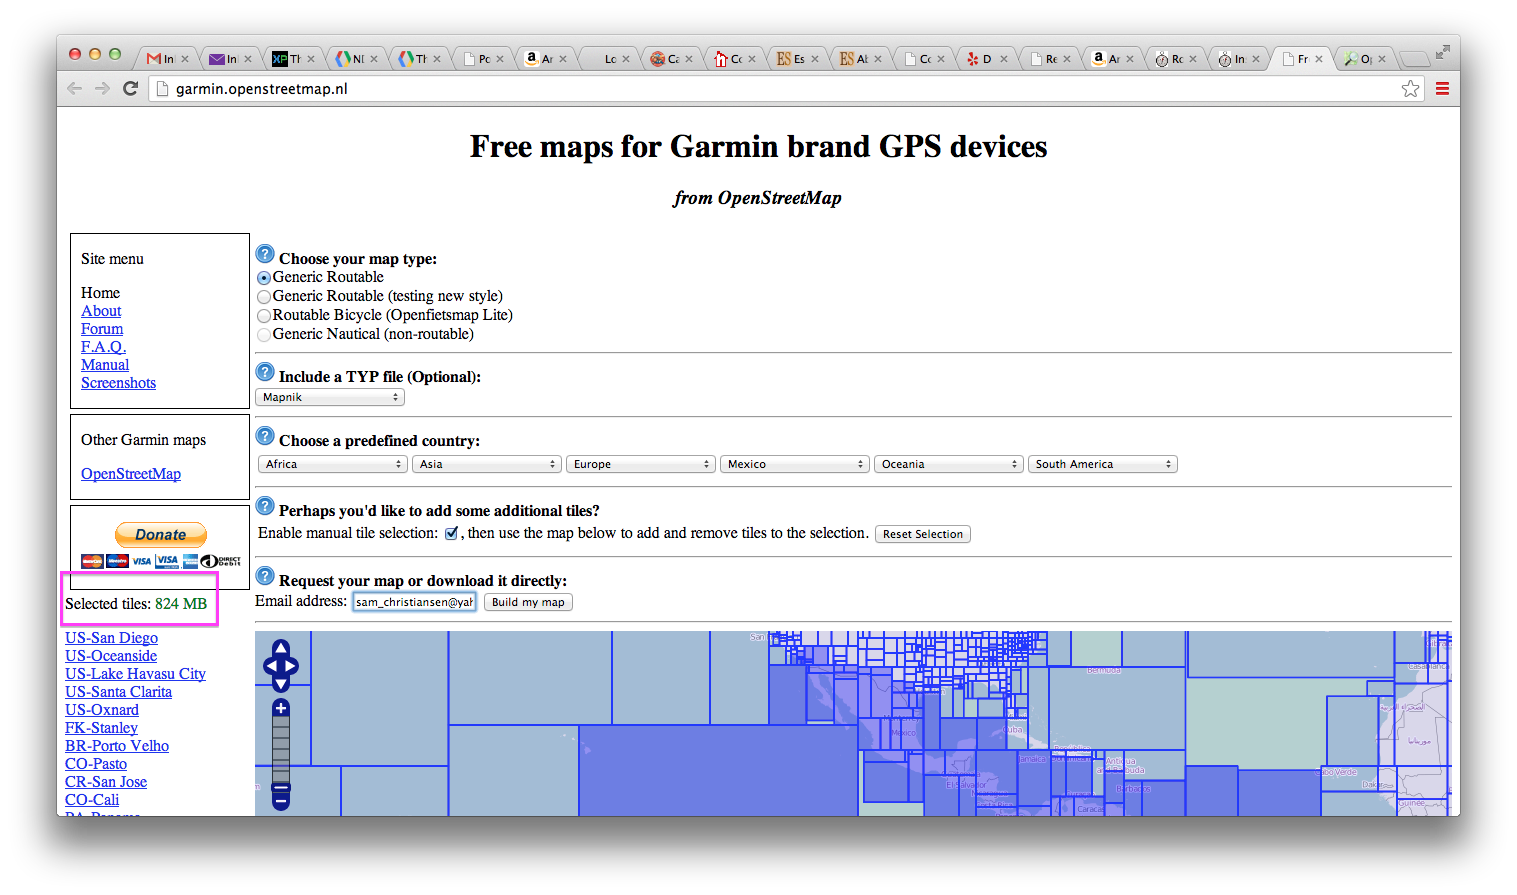
Fill out this form to generate a customize file for your Garmin GPS unit. Note the estimated size — this can be helpful to make sure the map isn’t too big.
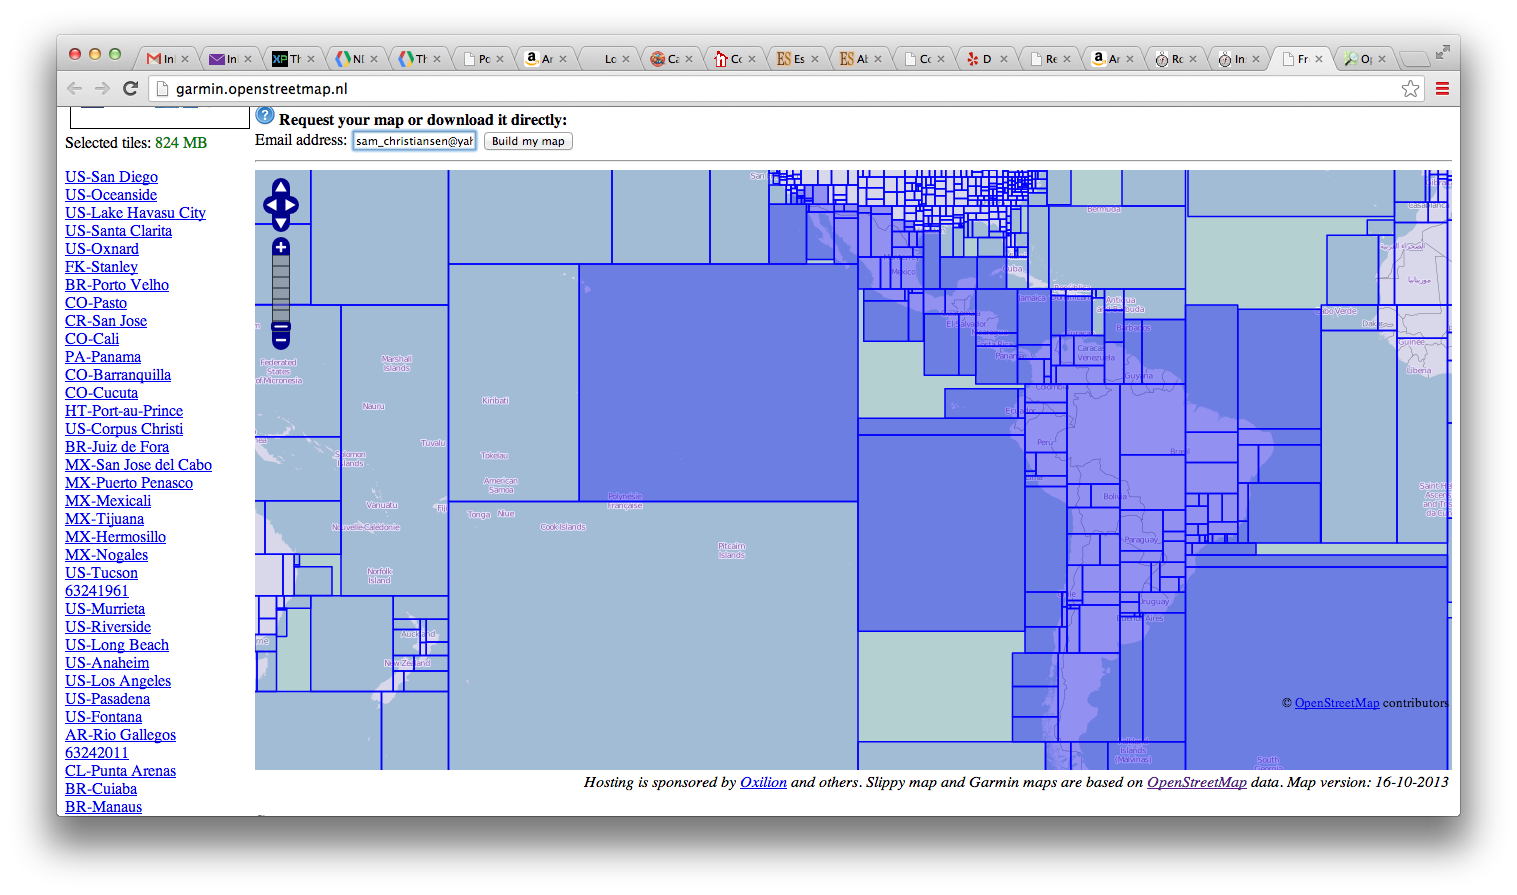
You can select the areas you want to customize the map; here I’ve selected all of South America.
Generating the map will typically take several minutes. You will receive e-mails when it has finished with links to the map file that you can download. One of the files you can download should be named something like this:
osm_generic_gmapsupp.zip
You can simply download this file, unzip it, and then copy the file to the “Garmin” folder of an SD card you will insert into the Garmin device.
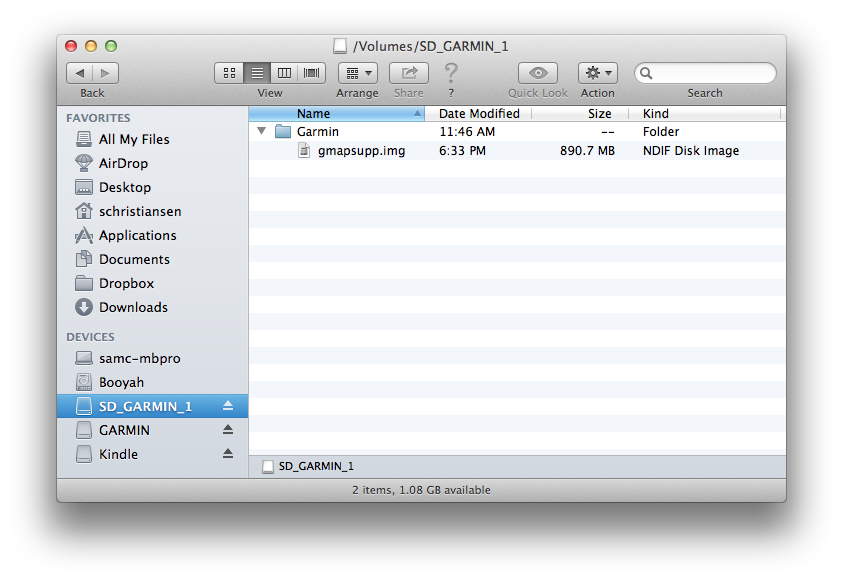
Copy the unzipped file into the “Garmin” folder of an empty SD card.
That’s it; insert the card back into the Garmin device and restart it and you should be able to verify that the new map is being detected.
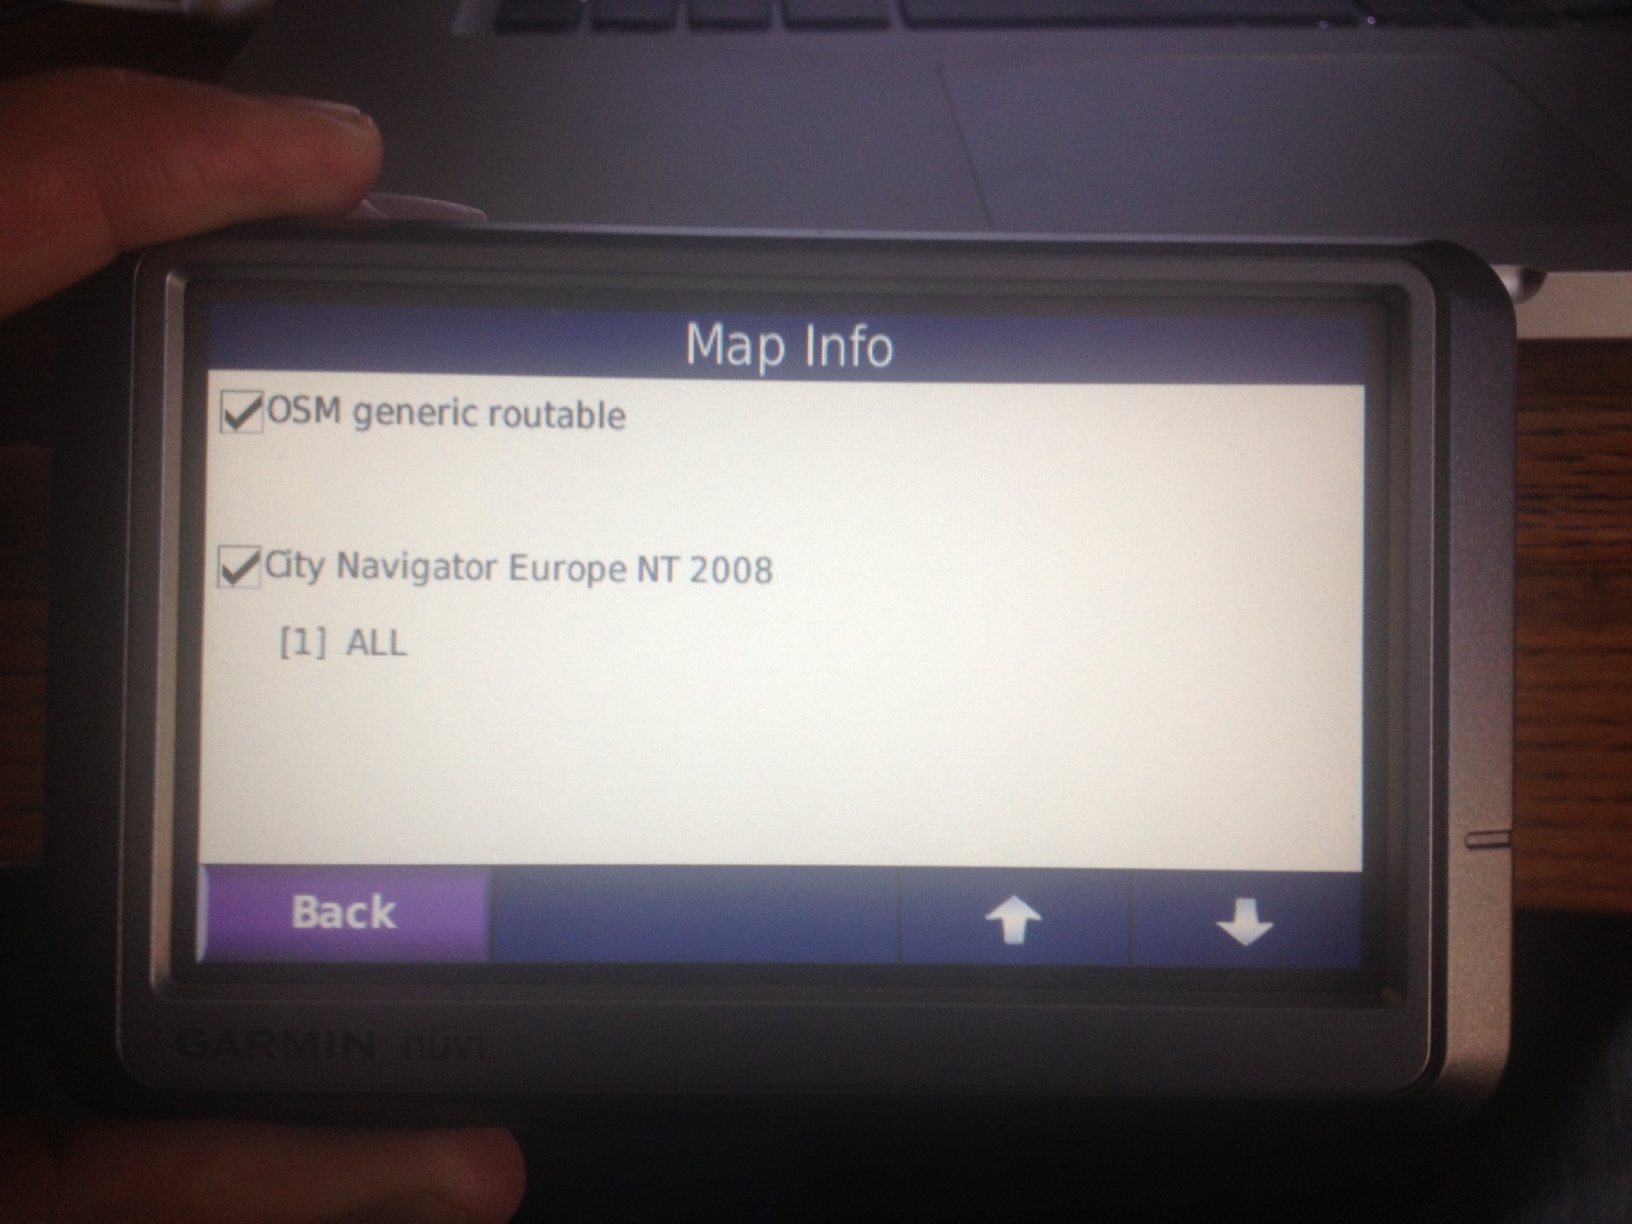
As you can see, we now have two maps loaded on the GPS device.
We used the OSM maps this last weekend in Southern California and they worked great. We’ll see how accurate they are when we cross the border and update the blog with information.
There’s a great way to add customized points of interest to your GPS device as well; I’ll cover that in another how-to guide.