


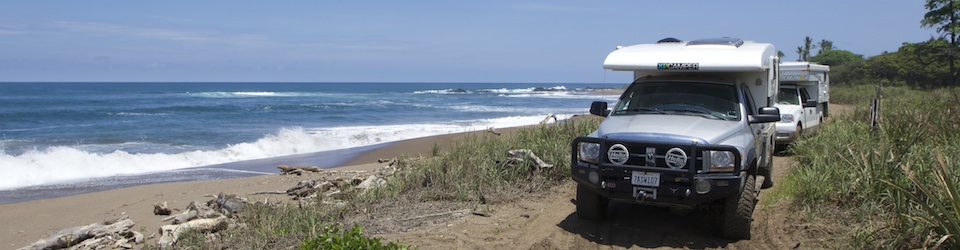


I wanted to quickly update my original post on getting water in Mexico. Although water purification centers seemed to be everywhere in Baja, we’ve had a bit more difficulty finding them on the main land. It’s not that they don’t exist, it’s just that the towns on the mainland are bigger and more crowded. In addition, many of the purification centers we have run into on the mainland only offer the 5-gallon jugs. Finally, one thing we’ve noticed on the mainland is that vendors with water (and propane as well) often just drive around in big trucks and will offer to sell you 5 gallon jugs on the spot. You will hear these vendors as they go down the street — some play music, some just drag chains that rattle behind them, some honk their horns.
As mentioned in my earlier post, we have a solution for getting the water out of 5-gallon jugs, but it wasn’t great. It involved using a hand pump to pump the water into the XP.
While this worked well, it was pretty tiring when we wanted to add 20+ gallons of water to the XP! So, knowing that Erica’s mother was going to visit us in Oaxaca, I ordered a few things on amazon.com to make this an easier process. After using this solution to get 100 liters of water the other day, I’m happy to report that it works well!
What You’ll Need
My idea was to get a 12-volt pump that would be able to pump water from the 5 gallon jugs into the XP. In addition, I wanted the 12-volt pump to serve as a backup in case any of the water pumps on the XP failed. Here’s a list of stuff you can order from amazon.com to do this yourself:
- 12 Volt Pump – I chose a shurflo because it was so popular and so highly recommended
- 12 Volt Extension Cord – you’ll need this to power the pump; you can probably find this at an Auto Zone or Walmart as well.
- Electrical Connectors and Wire Strippers – you can get something like this at Auto Zone. You’ll only need 4 connectors total, so this kit is overkill, but it’s handy to have something like this.
- You may need some electrical tape (it’s the black stuff that’s about 1/2″ thick)
- A hose for the water pump; you’ll need about 4 meters (12 feet) total. The diameter of the hose will change based on what type of water pump you get. I just went to a hardware store here in Oaxaca with the pump connectors and they fitted a hose and cut it for me. You could do the same at a Home Depot. Make sure the hose is a tight fit, or purchase some fittings so you can make it super tight — otherwise water will leak.
Putting It All Together
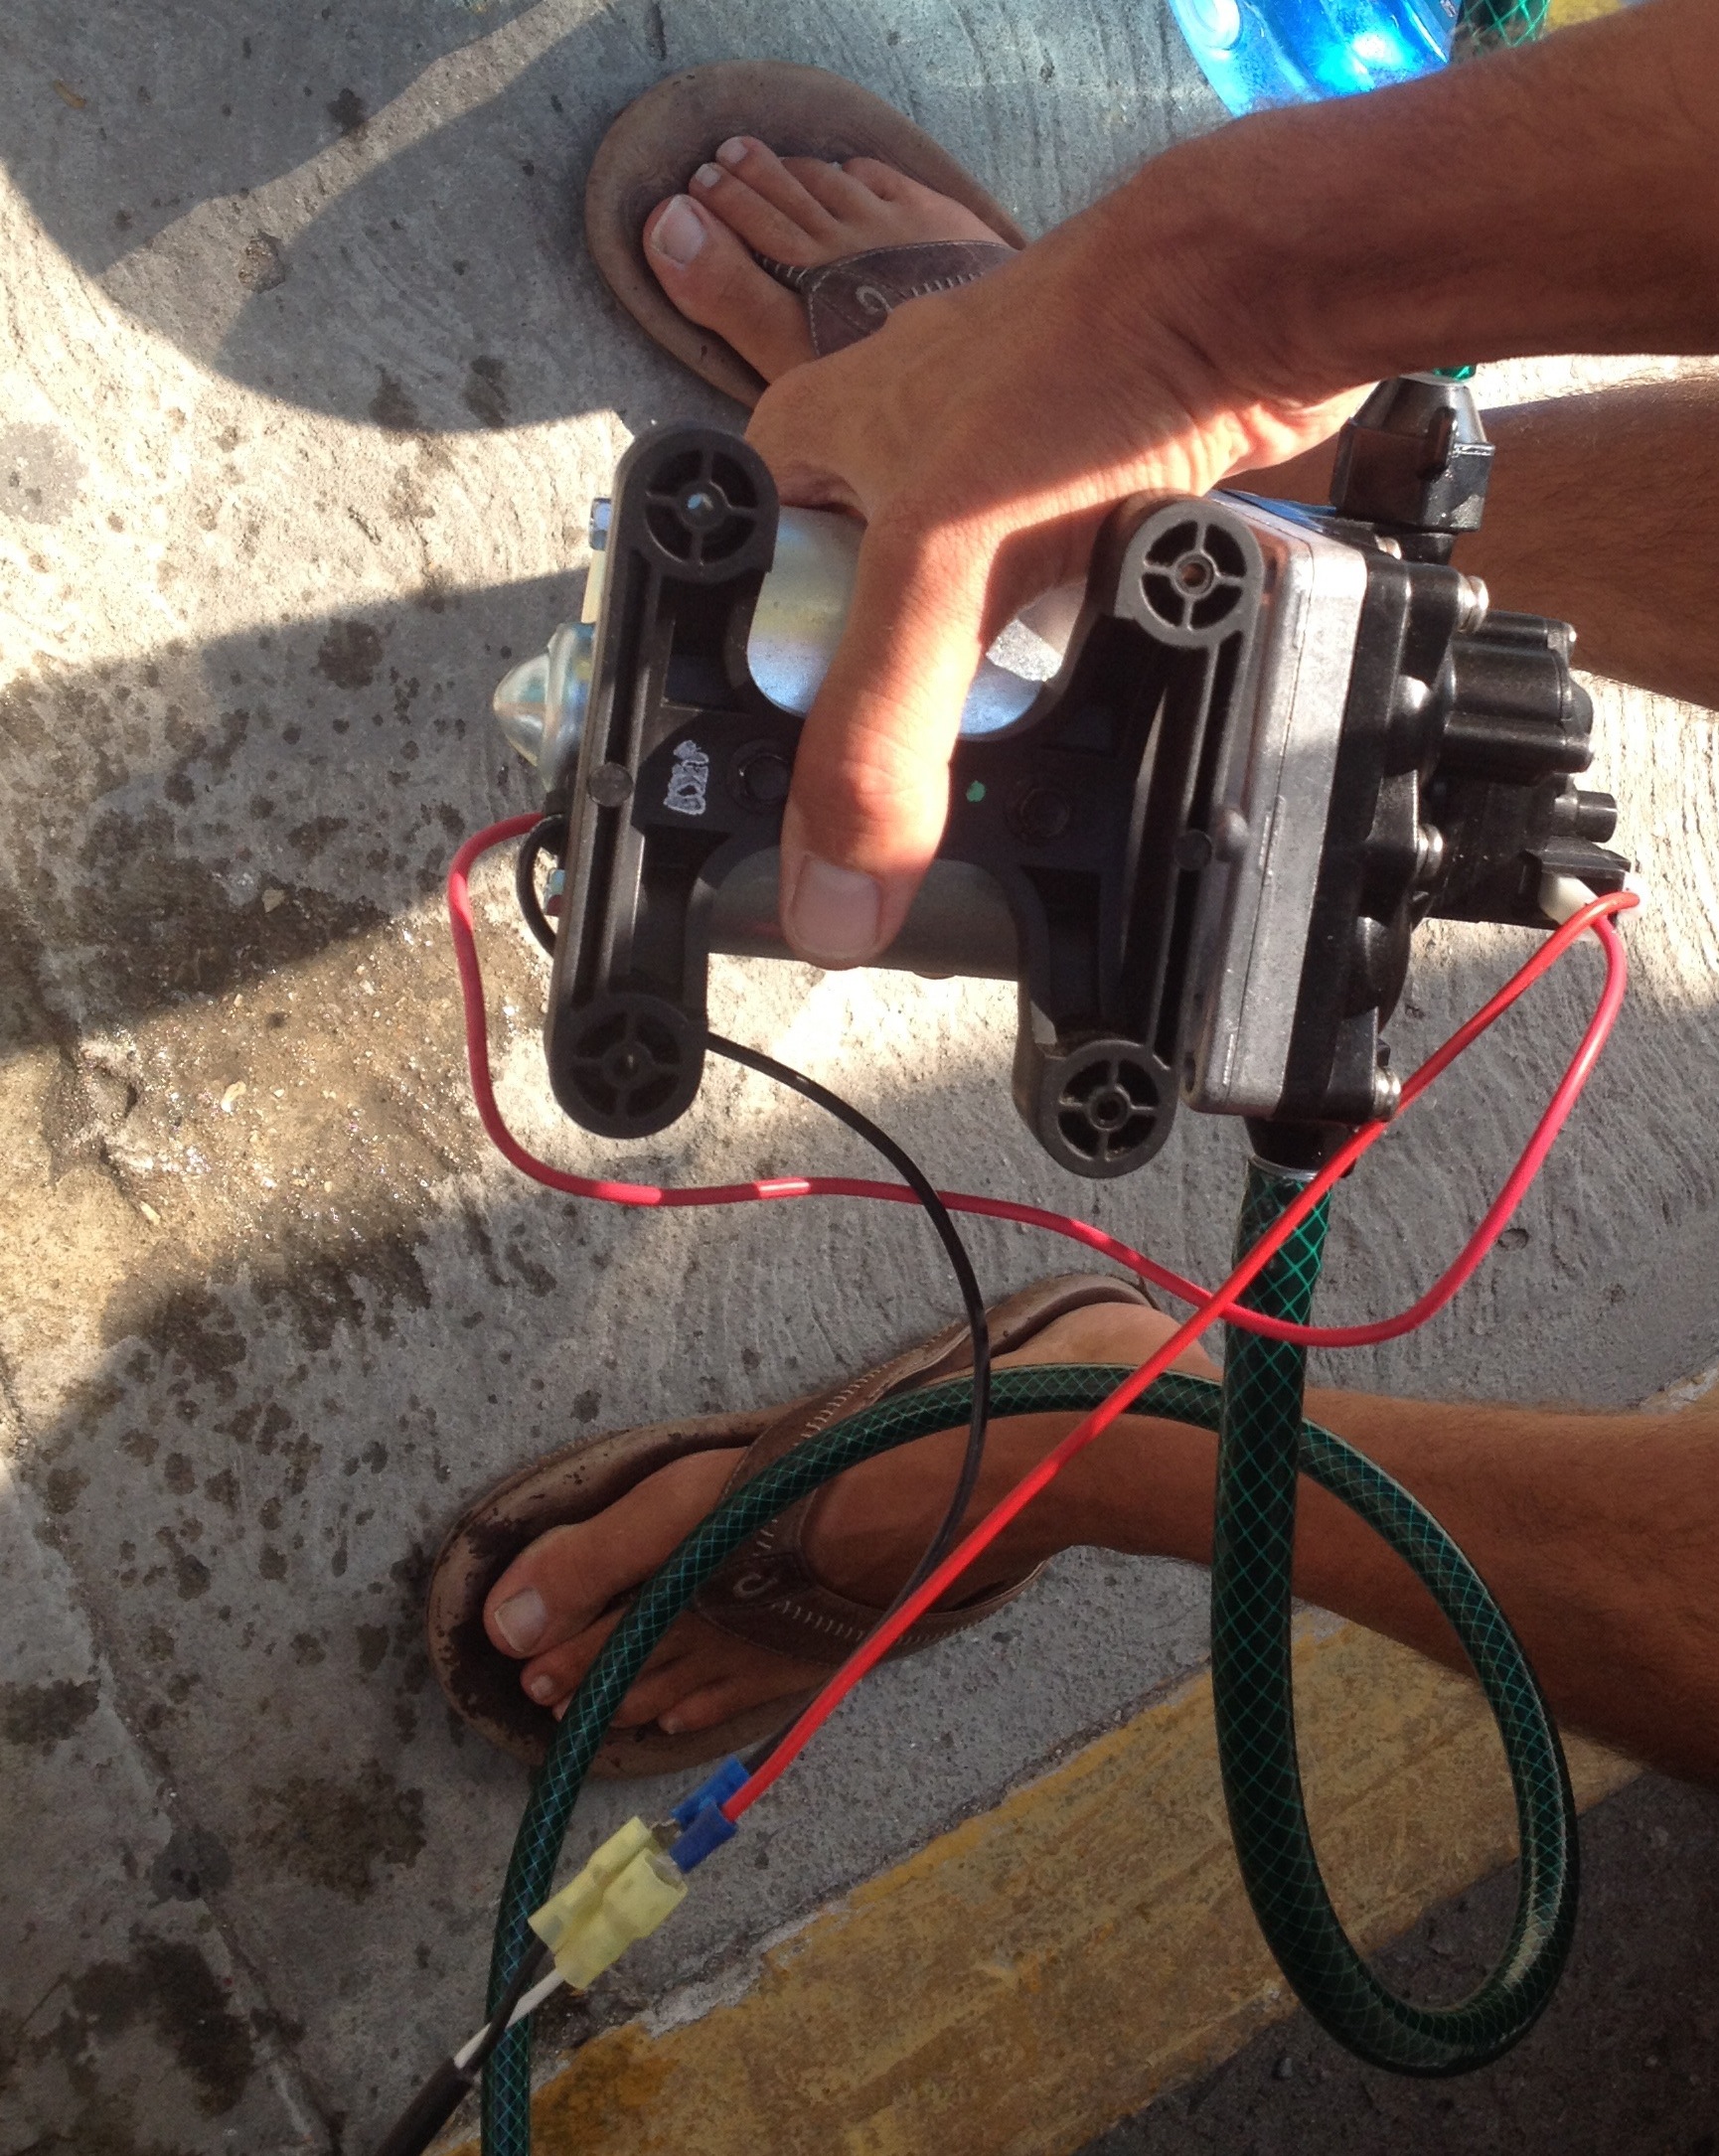
This is what we’re building. A 12-volt pump that you can plug into your rig’s 12-volt outlet.
Take the 12-volt extension cable and cut off the female end. Use a knife to strip the outer cable so you have exposed about 3 inches of the two inner positive and negative cables (one should be black and the other will be white or red). Be careful when you strip the outer cable that you don’t sever or strip these inner cables — this might lead to a short!
Once that is done, you’ll want to use your wire strippers to strip about a half inch off the ends of the two cables that you just exposed. Take two of the electrical connectors (they can be male or female; just make sure they match), and use the electrical stripper tool to crimp them onto the newly stripped wires (you could probably also just use a wrench here, but the crimper does it better). If your crimp/strip job is sloppy, you can always cut the wire off and try again. The electrical tape can also come in handy here.
Now grab the water pump. The positive/negative wires should be stripped already. You’ll need to attach and crimp electrical connectors to these that are the opposite male/female of what you put on the 12-volt power cable. The idea is that you’ll want to be able to quickly attach/detach the 12-volt plug from the pump. Feel free to play around with the connectors before you crimp them onto the wires so that you understand how they connect and disconnect. You can always just make a permanent connection here, but if you use the connectors you can possibly re-use the cable for other purposes.
Once that is done, you should be ready to test the pump! Plug the 12-volt power cable into the pump; make sure that the black (negative) cables are connected together and the positive (red/white) cables are connected together. After that, you can plug the 12-volt into your rig’s electrical outlet. You should hear the pump come to life. If it doesn’t, check the connectors.
Finally, you can attach the hose to the pump. I cut my hose into 2 pieces, one is about 1 meter (3 feet) long and the other is about 3 meters (9 feet) long. I connected the small hose to the “input” side of the pump and the larger hose to the “output” side of the pump.
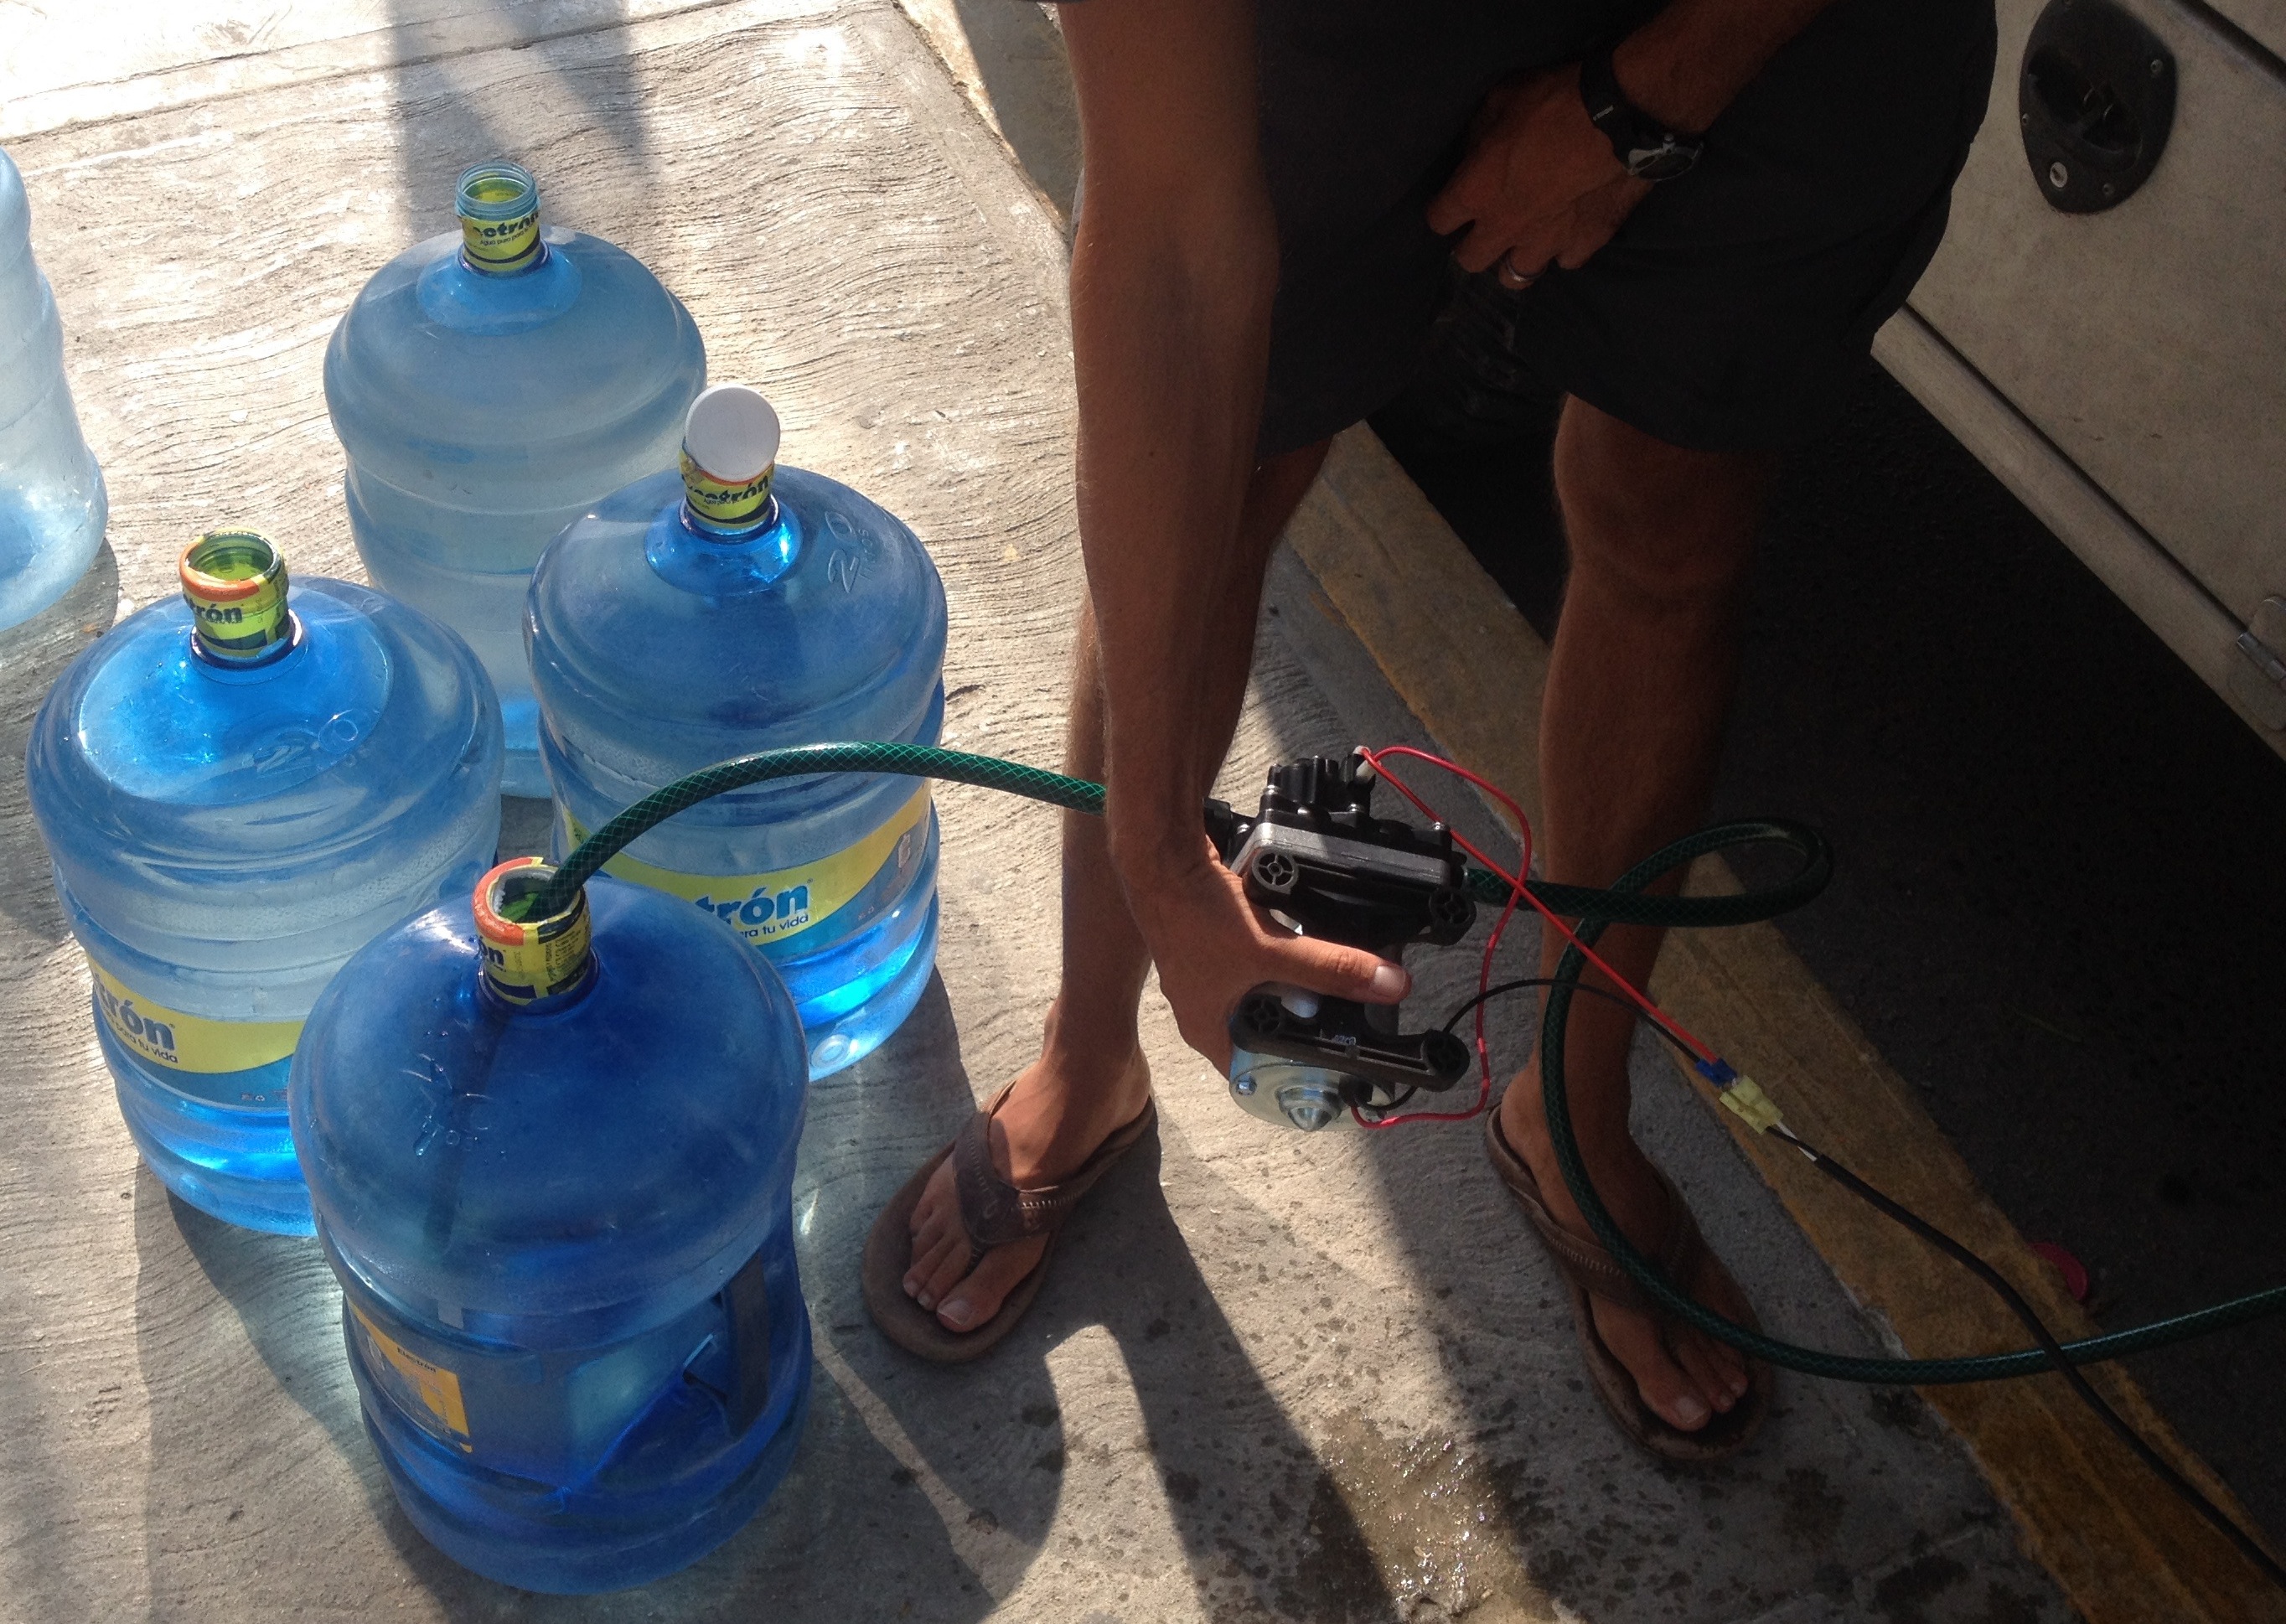
The smaller hose (input) goes into the jug, and the output winds its way up to the XPCamper water tank.
Now you are ready to go get some water! When doing this, make sure you leave the car running while operating the pump, or else you might drain your battery.

Much easier than using the hand pump, and it serves as a great backup water pump as well!
I’m pretty sure that this is going to be an ideal solution for us all through Central and South America. I’ll update with another post if we find any new tricks.
Questions? Comments? Fire away…